In our earlier post
we have create our first FPM OIF application and now we are aware about the
terminology of FPM. You must have remembered that while creating the WD
component we have re-implemented interface IF_FPM_UI_BUILDING_BLOCK at
component level.
So what is the exact use of this interface? If you remember
while creating the component configuration, at one point of time we have given
the component name and did F4 and all the windows of that component would come.
Where do you think FPM framework gets this information? I mean what is the
linkage between FPM application and our WD component. Exactly, you guessed it
right. It is this interface. This interface actually brings our standalone WD
component within the FPM circle. Of course we have to further give the FPM_OIF_COMPONENT
in component field while creating the application.
Going further if we look into the interface we can see there
are few methods which are present there along with their signature but of
course without implementation, because it’s actually the interface and these
methods are supposed to be implemented in the WD component where this interface
will be re-implemented. Below the methods which are present in this interface.

Because we have implemented this interface in our WD
component, if we go in our component and see the methods available at component
level, we can find these methods there. Depends on requirement we need to do
coding in appropriate method.

FLUSH: The basic use of this method is for the data
transport. This method is the very first method which comes into picture when
user does some FPM framework related action. There can be other buttons also,
which user has designed in WD component view. If user does some action on those
buttons, this will not be considered under FPM framework and methods triggering
will take place as explained in one of my earlier post . Instead if user takes some action
say suppose in FPM Toolbar buttons, or in case OIF component has been used and
user goes to other tab, these actions would be considered in FPM framework and
Flush method will get trigger.
NEEDS_CONFIRMATION: This
is used when some sort of user confirmation is required through a pop up box.
Depends on the user action, FPM event loop is either continued or cancelled.
PROCESS_EVENT: This
is used whenever we have to implement some after action of one event. We can
always check the parameter MV_EVENT_ID to get the actual event name. This
parameter we would be getting inside the actual parameter IO_EVENT. Full path
is IO_EVENT->
CL_FPM_EVENT->MV_EVENT_ID. By checking what the triggered event is, we
can always code what action needs to be taken now.
PROCESS_BEFORE_OUTPUT:
This is used just before the final display of screen. Even for the first time when we run the
application, along with the other hook methods, this method also comes into
existence.
AFTER_FAILED_EVENT: This
method is called whenever any event could not be completed successfully due to
any reason. Accordingly parameter IV_REVERT
contains the value.
Our next target is to see the actual triggering order in
which these methods, along with the other hook methods take place. Below are
some scenarios. For the convenience we will only consider the hook methods at
the component level.
- When application is launched.
WDDOINIT
PROCESS_BEFORE_OUTPUT
WDDOBEFORENAVIGATION
WDDOPOSTPROCESSING - On some action which is specific to WD component and does not come under FPM event loop.
< Action handler method of that button>
WDDOBEFORENAVIGATION
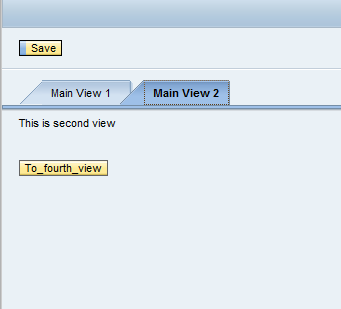
WDDOPOSTPROCESSING - On some action which comes under FPM event loop like Save, Tab change.
FLUSH
NEEDS_CONFIRMATION
PROCESS_EVENT
PROCESS_BEFORE_OUTPUT
WDDOBEFORENAVIGATION
WDDOPOSTPROCESSING
Happy Learning :)


